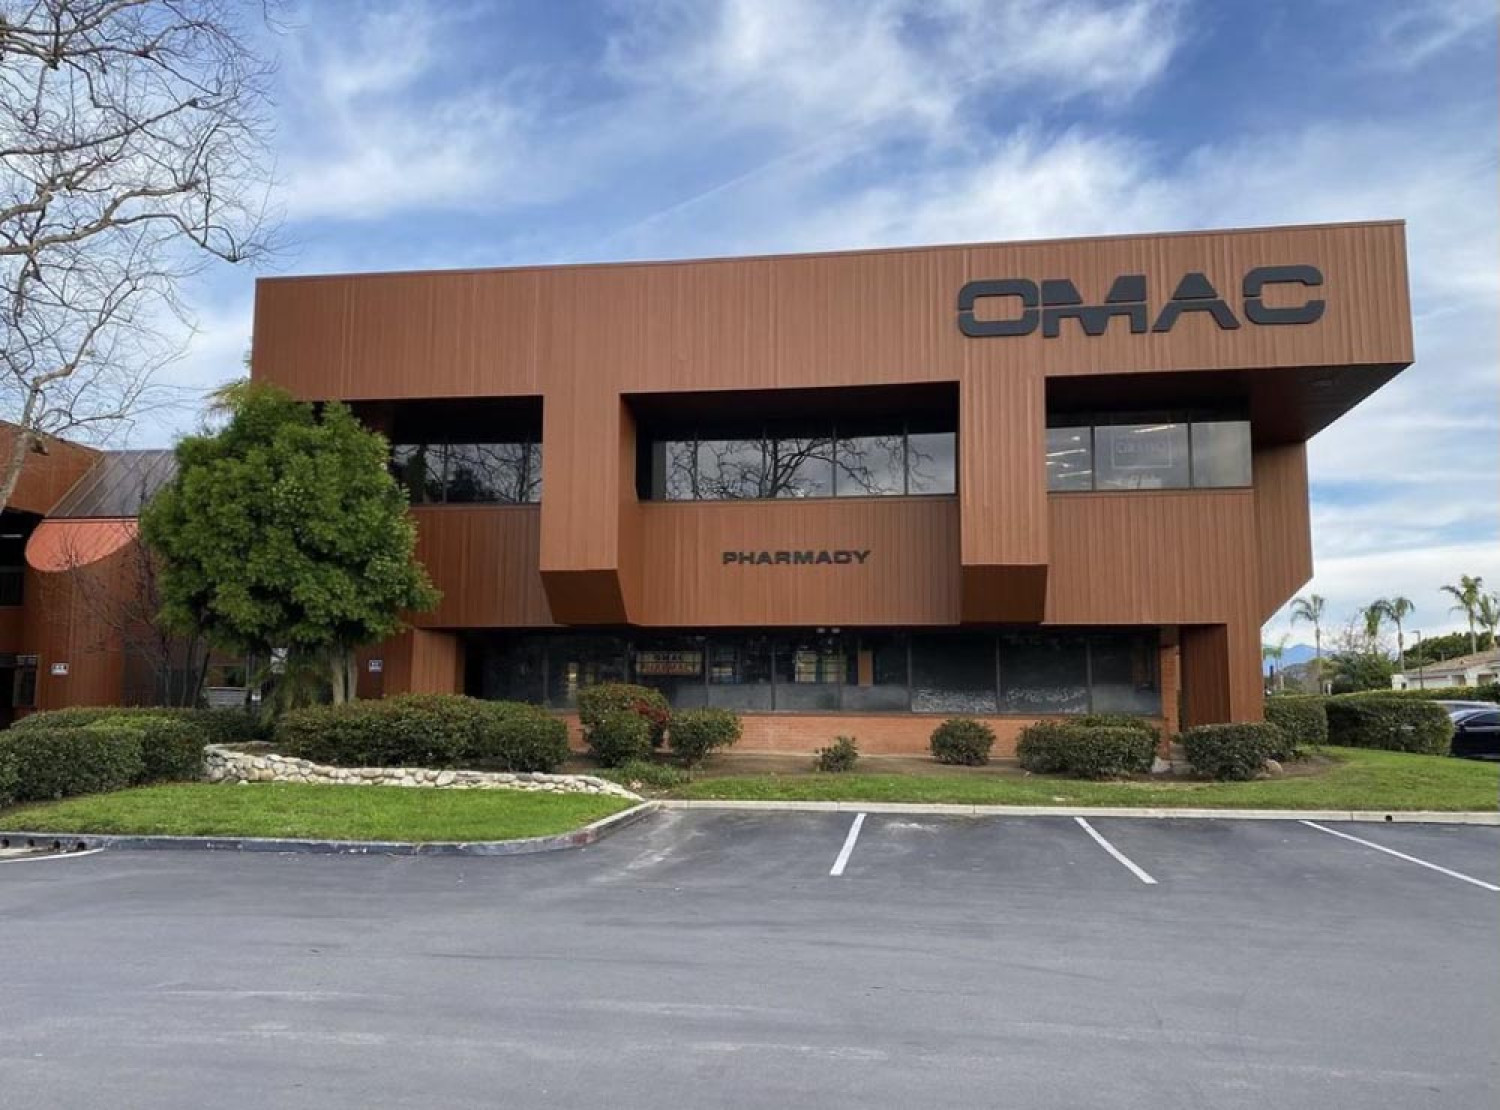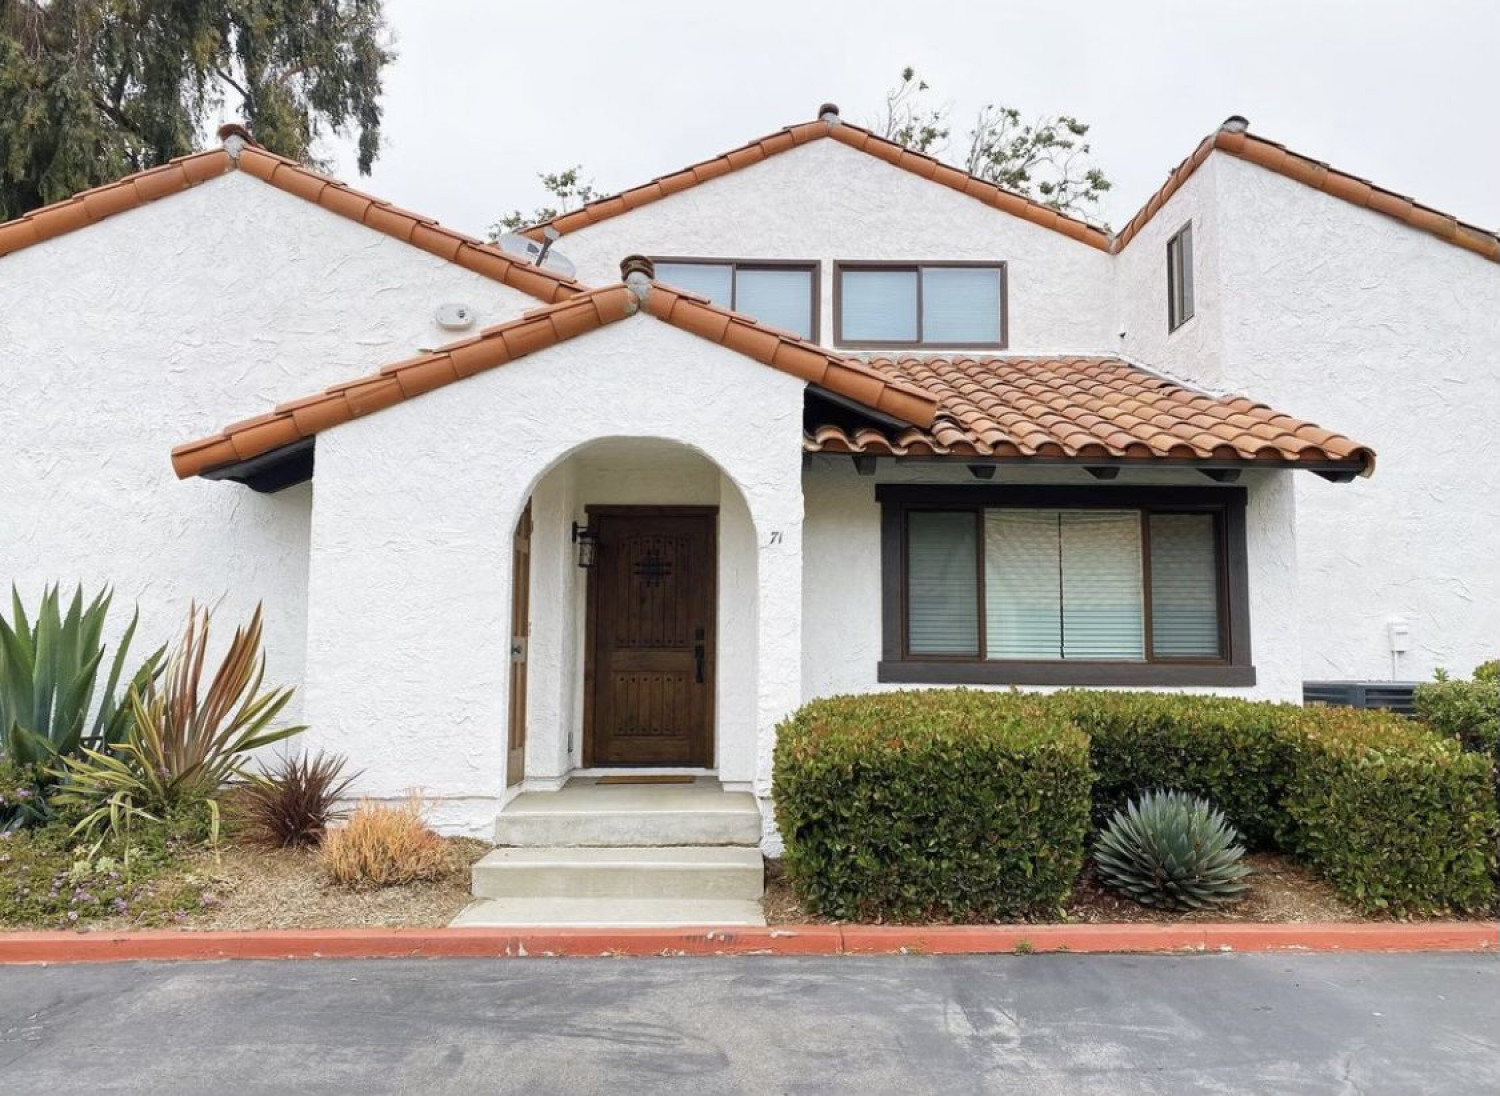

Three generations of expert painters
Our family-owned painting company has served the Ojai and Ventura, CA area since 1977. Join our family of satisfied clients when you hire us for residential or commercial painting services. We stand out from the competition because we:
Provide high-quality work
Have decades of experience
Offer a wide range of service options
Are passionate about the services we provide
You'll feel confident trusting our team with your residential or commercial painting service. Trust us with interior painting, exterior painting, wood replacement or fencing services.

Give Your Property a Fresh New Look
Arrange a residential or commercial painting service today
Highlight Your Property's Best Features
Set up commercial or residential painting services in Ojai, CA and Ventura and Santa Barbara counties
When you need commercial or residential painting services, look no further than Mckay's Painting Inc. We offer interior and exterior painting services, as well as wrought-iron welding and wood replacement services in the Ojai and Ventura, CA area. Set up your consultation today to discuss the details of your project with our expert painters. With decades of industry experience, you can trust our team to meet your needs.
Schedule a commercial or residential painting service now.
Take advantage of our color consultations
Finding the right color for your home or office can be challenging. Fortunately, we're here to help. We'll go over your options during your color consultation to help you find the perfect color for your project. Whether you're painting your walls or staining your fence, you can trust our team to provide trustworthy insight.
